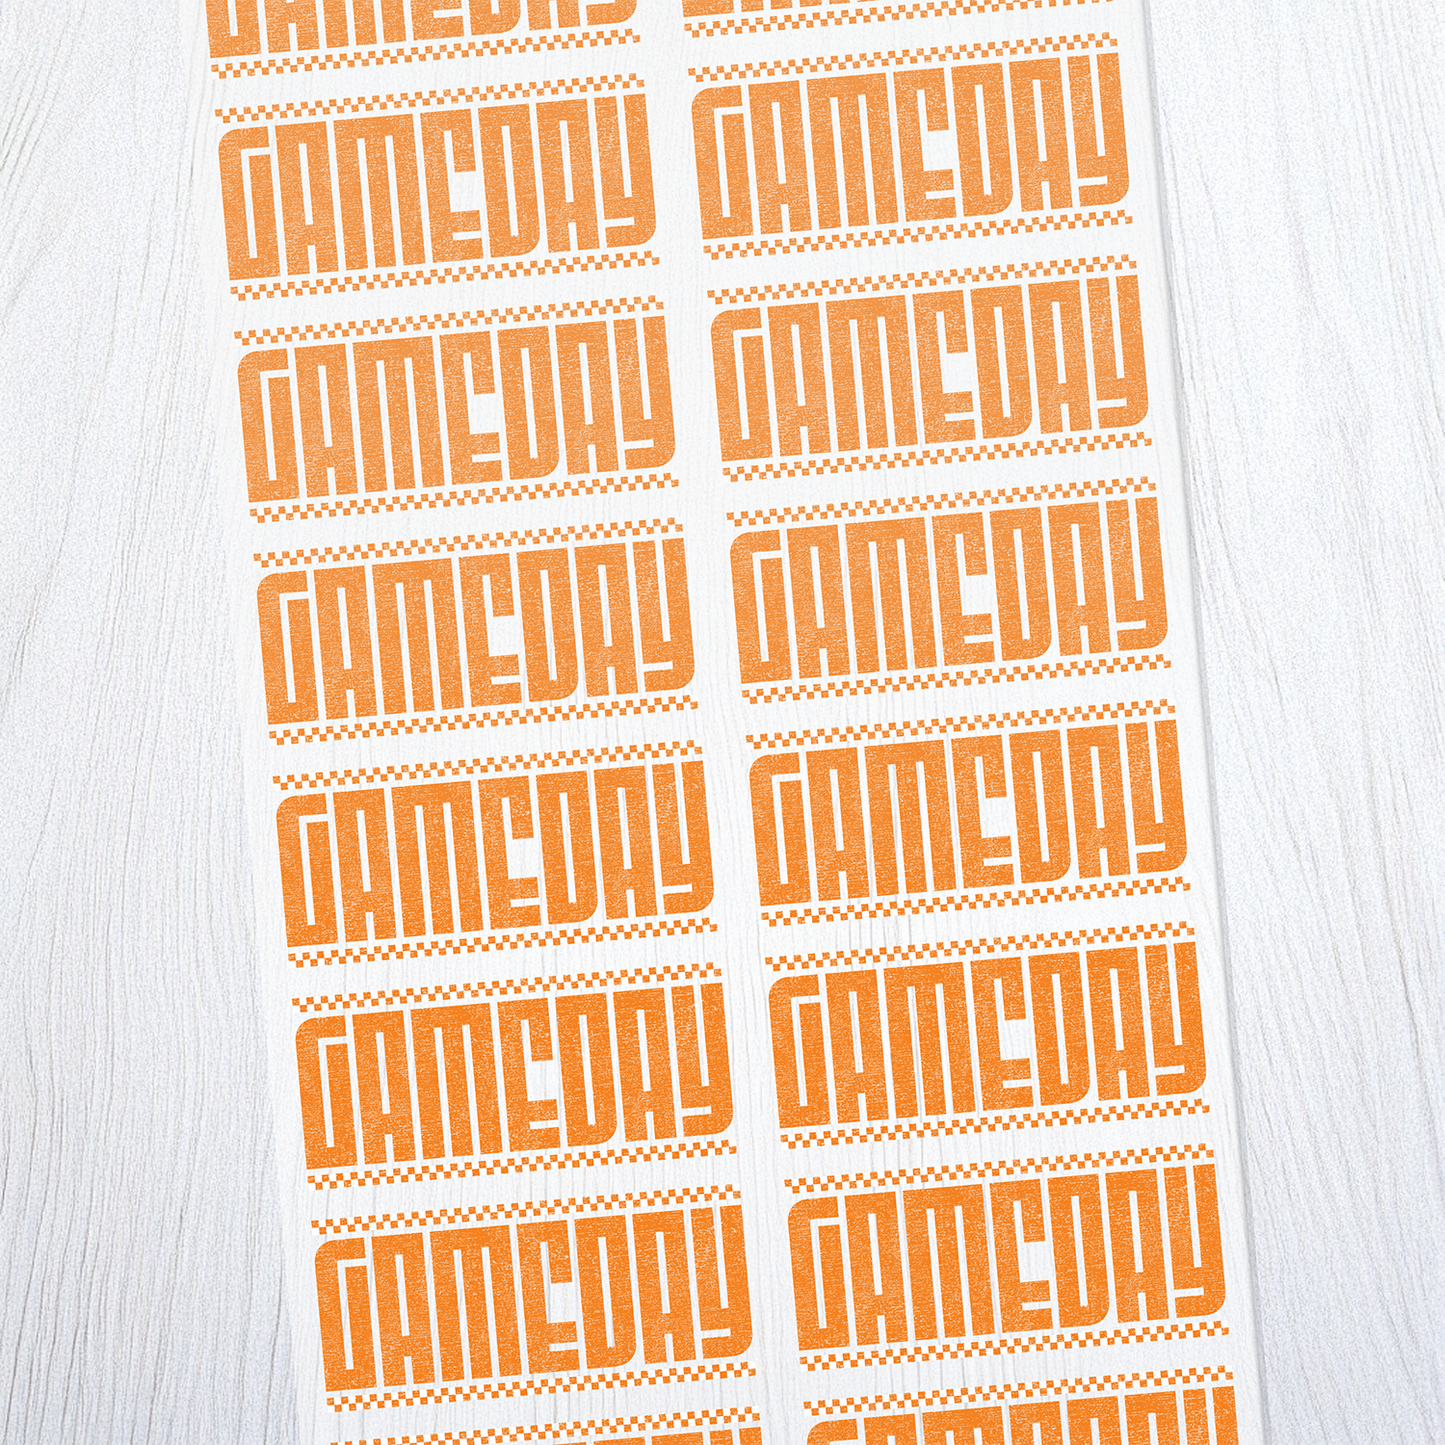
Maximize Your Value: The Ultimate Guide to Building a DTF Gang Sheet
Share
You know the power of Direct-to-Film (DTF) transfers—the incredible versatility, vibrant colors, and professional durability. And you've heard us talk about the secret weapon of every successful custom apparel business: the gang sheet.
But what exactly is a gang sheet, and how do you build one to maximize your prints and minimize your costs?
Think of a gang sheet as a smart, digital puzzle where you’re the master optimizer. It’s the single most effective way to lower your cost per print and scale your business without wasting any material. Ready to stop paying for white space and start maximizing your profits? Here is your ultimate, step-by-step guide to building a perfect DTF gang sheet with Meltdown Transfers.
What is a DTF Gang Sheet, Really?
A gang sheet is a single, large print area—like a 22-inch wide roll that is printed to your desired length—onto which you arrange multiple different designs, sizes, or logos.
The Goal: To fill the entire printable space so that you use every square inch you pay for. Instead of paying for a single logo on one sheet, you could fit a large back design, several pocket logos, and a few small tag designs all on the same piece of film.
Your Benefit: Since you pay for the size of the sheet and not the number of designs, a gang sheet drastically drives down your cost per transfer, which translates directly into higher profit margins for your business.
Step-by-Step: How to Design Your Perfect Gang Sheet
The beauty of the gang sheet is that it takes a little planning but delivers massive savings. Here's the simple process for preparing your artwork.
Gather All Your Designs
First, collect all the designs you plan to print. This could include:
- Front/Back Designs: Large graphics for the main area of a shirt.
- Pocket or Chest Logos: Smaller versions for the left chest.
- Sleeve Graphics: Long, thin designs for the arm.
- Neck Tags: Tiny, single-color logos for branding the inside of your apparel.
Prepare Your Files for Print
Your designs should be saved individually before you build the gang sheet. Do NOT worry about mirroring or adding white ink—we handle all of that on our end!
- File Type: PNG is the industry standard. This file type supports the necessary transparency around your image.
- Resolution: Always use a minimum of 300 DPI (Dots Per Inch). This ensures your prints are crisp and professional. Low-resolution files (like 72 DPI website images) will look blurry when printed large.
- Background: Your design must have a transparent background. If the background is white, your transfer will print a white box around your image!
Build Your Sheet in Our Easy Online Builder
Our proprietary Gang Sheet Builder takes the guesswork out of the final layout. Instead of struggling with complex graphic design software, you can simply upload and arrange.
- Set Your Size: Choose your desired length. Standard DTF film is 22 inches wide, so you only choose the length (e.g., 60 inches, 120 inches).
- Upload & Arrange: Upload all your prepared PNG files. You can then drag, drop, rotate, and resize your designs directly on the sheet.
-
Optimize for Space: This is the crucial step!
- Tuck & Turn: Rotate designs to fit them into tight spots. A little turn can often save you an inch of space.
- Leave a Gap: Leave a small, easily cut gap (about 0.25–0.5 inches) between designs. You'll need this space to quickly cut them apart once the sheet arrives.
- Fill the Corners: Don’t ignore the edges! Those small spaces are perfect for neck tags or tiny logos.
Review and Order!
Once your sheet is packed and optimized, confirm your order. You’ll receive a high-quality, ready-to-press transfer sheet that’s been professionally printed and cured.


